Animoto is a state-of-the-art program that enables you to very easily convert photos into animated, music videos. In a previous post, I discussed three levels of membership of Animoto – Free, Plus and Business.
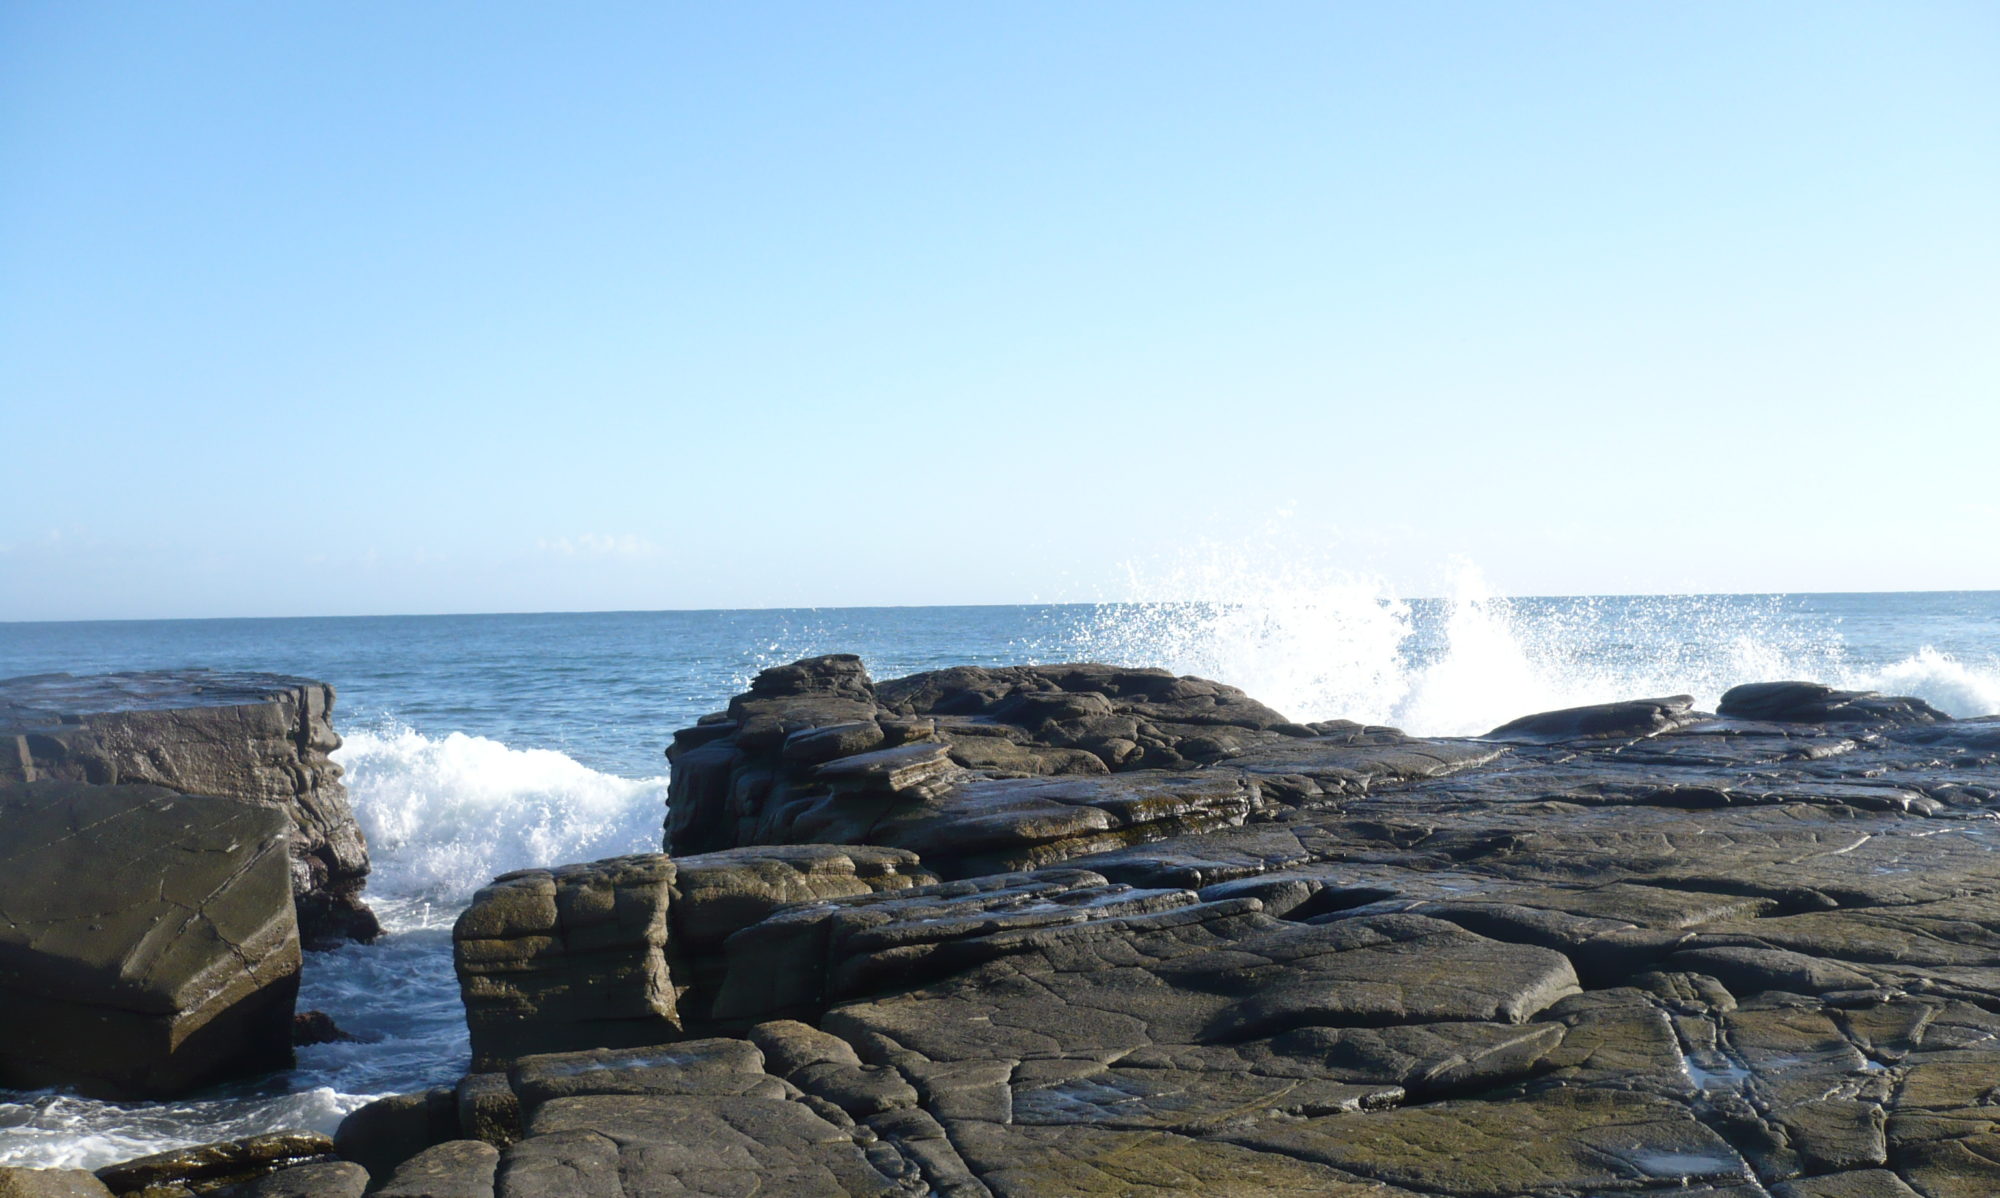
In this post, I want to focus on how I created an Animoto video from photos taken during my recent visit to Montville. First let’s look at how Animoto can make you look professional and improve your productivity.
Creating an animated music video from your photos with Animoto
I had taken 35 photos at Montville with my Panasonic Camera and I wanted to present them as a group under a theme. I had previously taken out Animoto Plus membership ($30 per year) so I can now create as many non-commercial videos of whatever length I want. So here is the process:
- Decide the theme and title for the video – I chose, ‘View fromMontville’
- Upload the photos to Animoto – I uploaded the folder with the photos and Animoto assigned spots for them and progressively uploaded them. This can take a while if you have a slow connection. While I have a fast connection, I was still able to use the waiting time to clean up some of my email.
- Decide the sequence of the photos for the video – you can move the photos around to change the sequence (drag-and-drop). I left the photos in the sequence in which I took them.
- Highlight photos to stand out as stills – this was a simple process of highlighting a photo and clicking on the ‘highlight button’. This facility enables you to have a few photos that feature (they will be stills during the animated video and one will typically come into focus at the end – a really cool feature).
- Add a text slide – this comes with a headline and a single text line. I chose to use the video title. ‘View from Montville’, and the sub-title, ‘Sounds of Mountain Birds’ (there is a limitation on the number of characters). Again you can locate the text slide where you choose (via the drag-and-drop option).
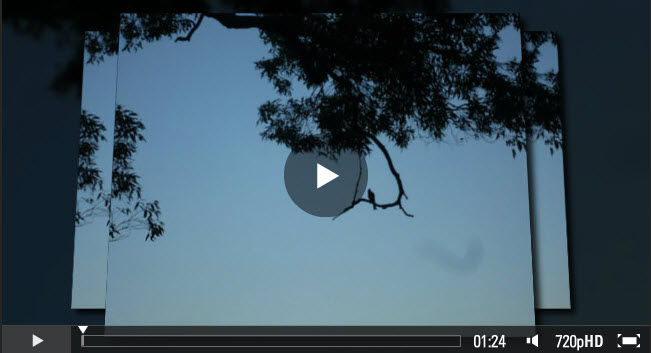
- Decide the accompanying music – Animoto provides a music library covering a range of genres. I chose to use my own audio – the MP3 I created by using Audacity to edit the recorded sounds of birds (developed through the voice recorder on my Samsung Galaxy S11). One of the tricks here is to match the chosen audio to the length of your video (determined by the number of photos). I had to expand my previously recorded audio to cover the number of photos involved. I originally uploaded a 1.18 minute audio and Animoto identified about 8 photos that would not be included in the video because the audio was too short. So I expanded the MP3 to 2.15 minutes (I had lots of recordings of bird sounds via my Samsung phone). The resultant video is 1.24 minutes long. A rule of thumb then that you can use is 2.15 minutes of audio to cover 35 photos (there is obviously some compression of the audio which is done automatically by Animoto).
- Decide the quality you want for your video – I discovered that there are some relatively new options for this. The basic quality (350p) comes at no additional cost. At the moment you can improve the quality by choosing the 480p option ($3) or the high definition 720p option ($6). I chose the latter because it really makes a difference to a video that involves mainly scenes taken from a distance (the HD enhances the depth perspective and the color).
While the basic quality video (380p) comes with two formats (for computer and smartphone), the HD quality option comes with four different formats that are suitable for:
- viewing on a computer (MP4)
- viewing on a HD television (ISO)
- using with a HD projector
- burning as a Blue-ray disc (or as an AVCHD encodedDVD) for playback on a Blue-ray player
The 480p quality option includes formats 1, 2 & 4 above and adds formats for playback on standard resolution TV’s and smartphones. However, the HD quality option automatically incudes access to all the lower quality formats.
In my next post, I will have the completed HD Animoto video available for streaming on the blog and I will explain how I was able to install the video.
Meanwhile, visit the Animoto site and be inspired by what you can achieve in terms of improved productivity and creativity.


