Easy Video Press: Video Player for WordPress Blogs

video player thumbnail

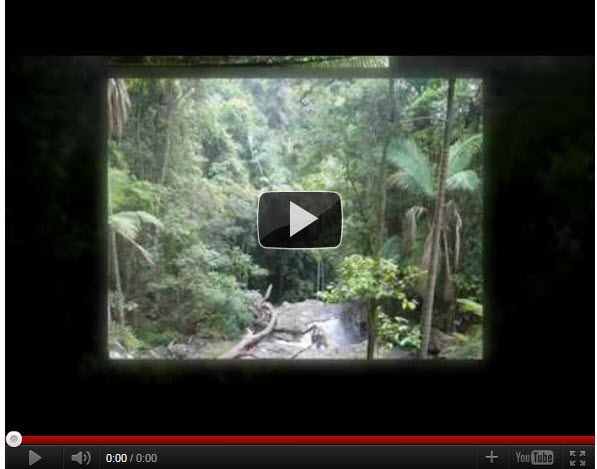
[evp type=youtube]http://www.youtube.com/watch?v=ln-Xbz3TgbM[/evp]


Easy Video Press is a WordPress Plugin that makes it very easy to play videos on your WordPress blogs.  You can play videos uploaded from Amazon S3, YouTube or your computer.

You also have the option of customizing the video player – e.g. color of the background, buttons or outline.  You can change the size of the displayed video and allow full screen playing.  If you prefer, you can set the Easy Videos Player to play immediately someone visits your blog post (… and you can change this for each video).

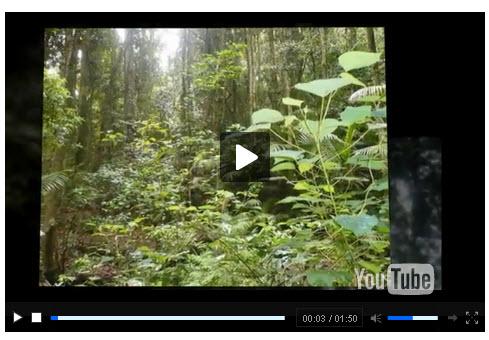
Easy Video Press comes with four very short videos that explain each step in the process of setting up the Plugin and creating a video player for your blog post.

Monetizing videos with Easy Video Press WordPress Plugin

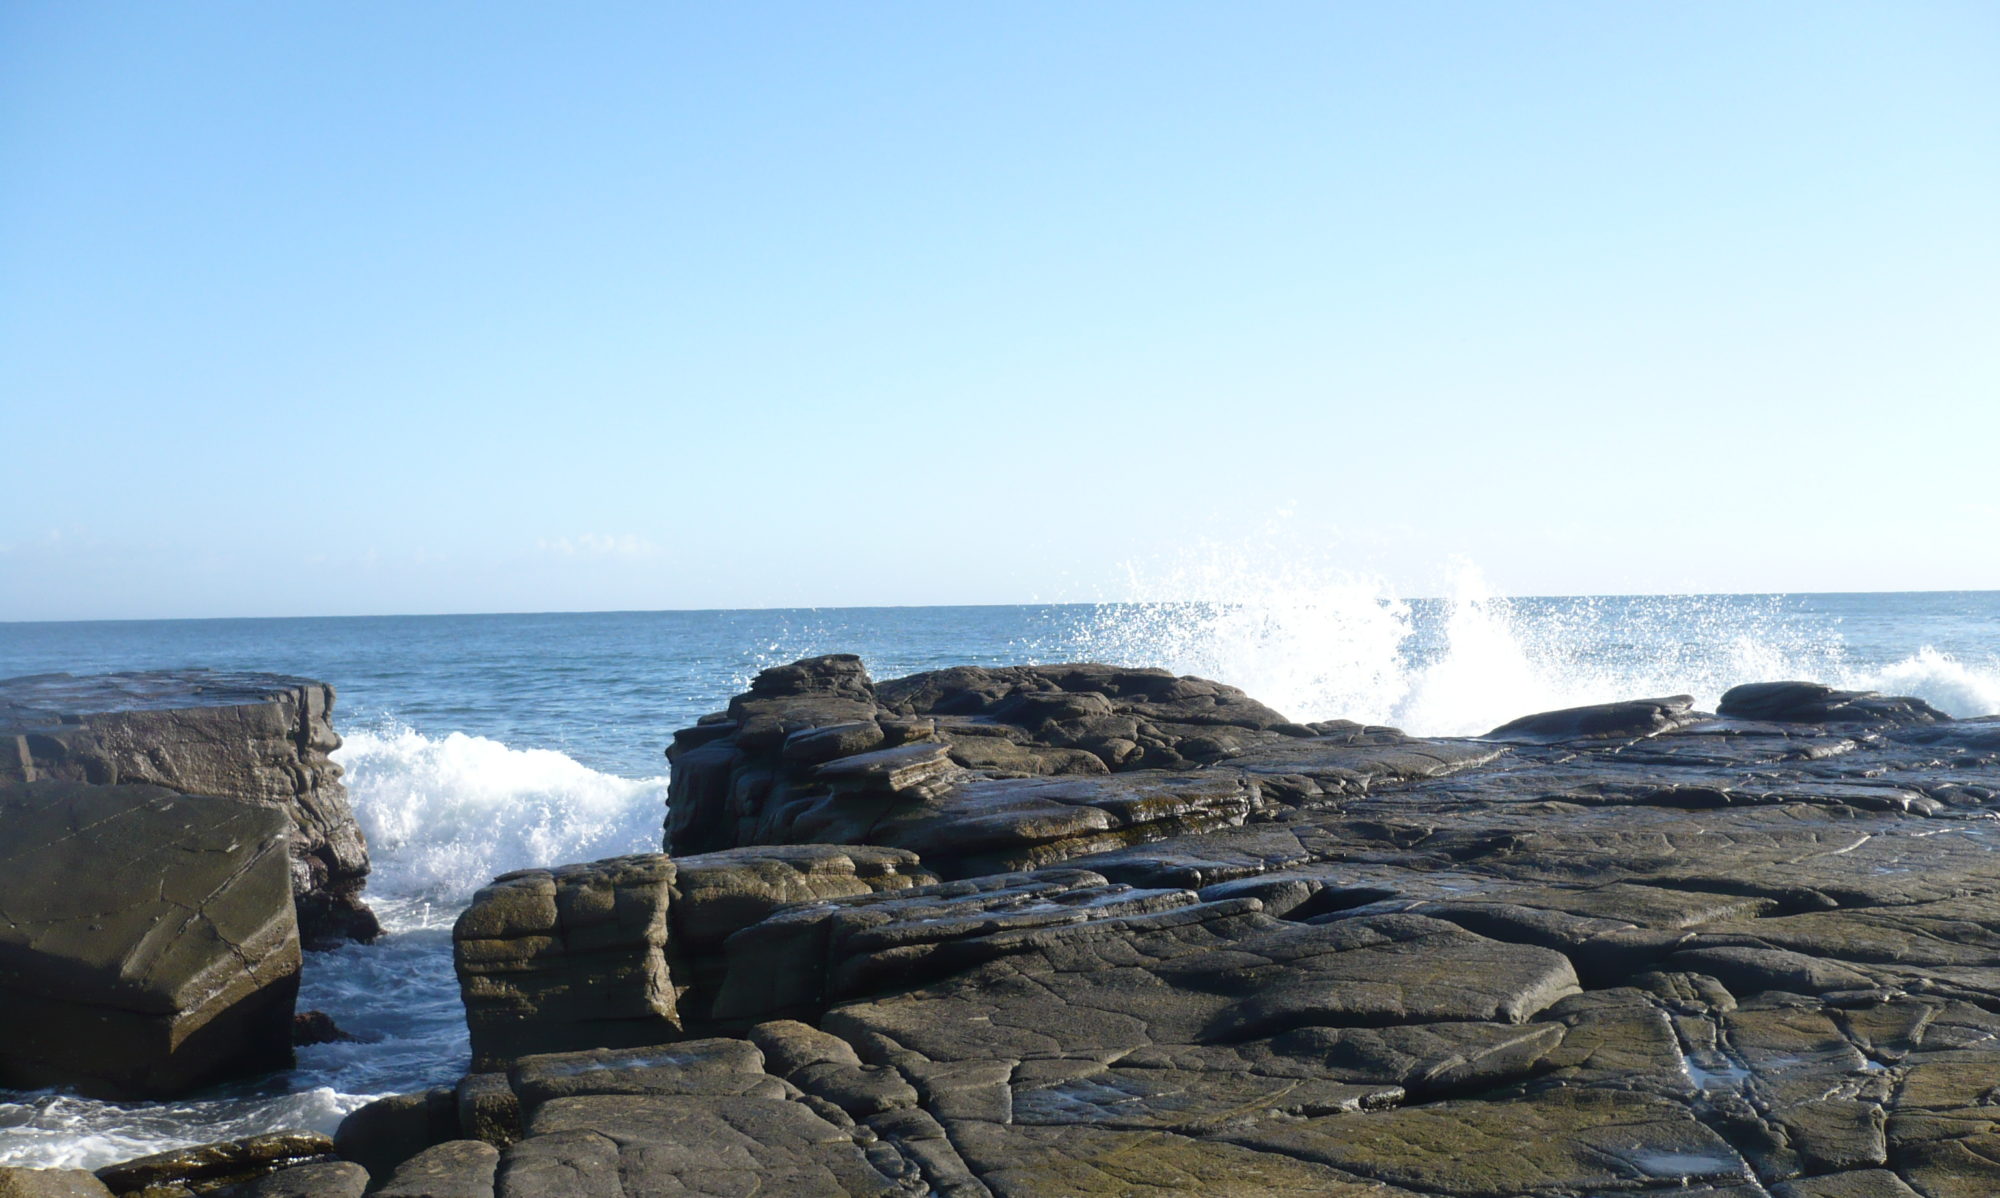
Easy Video Press enables you to add a hyperlinked logo to your video and build in a redirect to a website of your choice so that you can monetize the video.  I have illustrated these features in the video player below:

 [evp type=youtube logo=http://smallbusinessodyssey.com/wp-content/uploads/2012/03/meritsolutionsthumbnail1.jpg link=http://www.meritsolutions.com.au]http://www.youtube.com/watch?v=L4StJfmKDus[/evp]


Easy Video Press: an easy WordPress Plugin for displaying a video player

This is a powerful WordPress Plugin that can open up the world of video marketing.  It is easy to use and makes video playing on your WordPress blog so much easier.

All you have to do is install the WordPress plugin, customize the default settings (e.g. Amazon S3 URL’s, color scheme, video size) and then start using the video player within your blog posts.

When you want to display a video in your blog post, you provide a few details and the WordPress Plugin creates a “shortcode” which is automatically inserted in your blog post.

The following illustration shows the control panel that appears below your blog entry as you are developing your post.  It enables you to:

  • specify the source of video – Amazon S3, YouTube or your computer
  • size of the video player
  • color scheme for the video player
  • cover image
  • logo image (if desired)
  • logo URL link (if desired).


easy video press control panel


If you want to use the advanced options available with Easy Video Press, you can do any of the following:

  • allow full screen
  • auto start video
  • hide controls/buttons or show them
  • redirect viewer at end of video


easy video press monetization

With either the basic or the advanced controls, Easy Video Press will generate a shortcode that is automatically inserted in your blog post when you hit the “Send Shortcode to Editor” button.  You can then locate the video player wherever you choose within your post.

I was becoming increasingly frustrated with displaying videos on my WordPress blogs until I found this simple-to-use WordPress Plugin.

Easy Video Press is, as the name suggests, an easy-to-use WordPress Plugin that will take the stress out of your blogging and enable you to professionally display, and monetize, videos on your WordPress blogs.

Video Marketing on Squidoo

squidoo - youtube video rainforest


squidoo - youtube video rainforest

Squidoo offers a number of ways to use video marketing for the marketing a small business.  Essentially, Squidoo provides two modules that enable you to stream videos within Squidoo lenses.

These modules enable you to identify a video from a video hosting site and embed it in your Squidoo lens.  You can use a video of your own from one of these sites or use someone else’s video to illustrate an idea on your lens.

The two main modules for video marketing on Squidoo are (1) the YouTube Module and (2) the Video Module.  There is also a video voting module but this serves another purpose.

The YouTube Module on Squidoo

The YouTube Module gives you a lot of flexibility in displaying and streaming YouTube Videos. You can display a single video or multiple videos (up to 10). The way you choose the YouTube videos is up to you. You can use an automated process where you specify a keyword (tag) and YouTube will display the specified number of videos associated with that keyword.  The advantage of this approach is that the displayed videos are automatically updated by YouTube.

Another choice is to use the “Let me pick option’ in combination with the “Help me find a video’ link (at the bottom of the module in edit mode).   In this option, you again specify a keyword (tag) but you can make a choice from the list of videos displayed by YouTube.  You have more control this way but you have to update the list manually.

Alternatively, you can choose to display the videos of a particular person (yourself or someone else) by specifying the desired YouTube ‘Username’. 

The YouTube Module in edit mode is displayed below (“Let me pick’ option):


Squidoo - YouTube Module

Your video will be shown as a full image for streaming as shown in the screenshot below (notice the hyperlinks at the bottom of the image):

squidoo - youtube video

Where you choose multiple YouTube videos to display, one video will be shown in full display and the others are shown as thumbnail images as below:

squidoo - YouTube videos thumbnail images

The Video Module on Squidoo

The Video Module enables you to stream a single video from anyone of a number of video hosting sites, including YouTube.  You need to give your module a title and sub-title and a description (optional, but useful to increase your chances of being found on the search engines).  Then you post the video link from the relevant video site and click ‘Save”.   If you don’t know the URL of the video, you can click on one of the buttons for the video sites listed in the menu across the top of the edit box.   The video hosting sites supported by Squidoo, in addition to YouTube, are:

  • Vimeo
  • Revver
  • Howcast
  • Anboom
  • Godtube
  • Metacafe
  • MySpace
  • Veoh
  • Yahoo Movies
  • 5min
  • Amazon

You can see the Video Module in edit mode displayed below:

video module on Squidoo

The resultant video (from Vimeo in this example) is displayed as a streaming video for playing directly within the Squidoo lens as shown in the screenshot below (taken from a video module in a lens):

squidoo - vimeo video

Squidoo makes it easy to use video marketing for the marketing of a small business and gives you a range of video hosting sites to draw on for your own videos or those of other contributors.

iTunes: How to Avoid a Green Screen in Your Video

Green video screen with iTunes

Green video screen with iTunes

For the last few weeks I have been frustrated by a green screen showing on iTunes when I attempt to view a high quality video.   I have been getting audio but no picture apart from an annoying green screen.

I searched the Internet and found many other people were having a similar problem.  Most of the responses to the question, “How do I remove the green screen when I play my videos on iTunes?”, were highly technical.  On one particular site, the technical experts were arguing amongst themselves about what was the best method or who had the best solution.  I found most of the responses somewhat bewildering and confusing.

Green screen on iTunes – a question of codecs?

A codec is the software that video players use to create (compress) a video or play (decompress) the video.  Some video players (such as iTunes) have both kinds of codecs – for creating and playing videos.

It seems that one of the fundamental problems is that the codecs that have been developed for creating videos are outpacing the codecs incorporated in iTunes.   As video creation becomes more and more sophisticated and higher quality, sites that provide video players have to decide how advanced they should make their video players and what level of codecs to employ [the parallel in computing is, “Do you move to Windows 7 or do you stick with Windows XP and put up with conversion problems?].

Some experts in the field suggest you work out the codec you require and download it. Microsoft itself discourages this practice and warns against the the dangers of this action:

Warning

Use caution when installing codecs that you find on the Internet, particularly some of the free codec packs that claim to include codecs from a wide variety of companies or organizations. Incompatibilities are known to exist with some of the components in these codec packs that can cause serious playback issues in the Player and other players, lead to system corruption, and make it difficult for Microsoft Support to diagnose and troubleshoot playback issues.

So what should you do to get rid of the green screen in iTunes videos?

The solution: AVS Video Converter

Finally, after weeks of searching and reading, I have found a simple solution that serves multiple purposes – the AVS Video Converter.  What this effectively does is take a video that uses one set of codecs (such as MP4, usually playable on iTunes) and converts it to a video that uses a different set of codecs (such as WMV, playable on Windows Media Player). 

The besuty of this software, AVS Video Converter, is that you get to choose the final output from a range of options provided.

AVS Video Converter Contol Panel

The software is very easy to operate and very reasonably priced.  Here’s a screen capture of the control panel:

avs video converter

You can see across the top, the options for the output (e.g. AVI, DVD, MP4, MPEG, WMV, etc).  All you have to do is highlight the video output type you want, browse your computer to select your video file and specify the folder for the converted video.   The AVS Video Converter retains the high quality of the original video.

You are able to monitor the planned conversion (before pressing the “CONVERT” button) by pressing the “Advanced” button and the resultant display will show full details of the input and output files (with the relevant video codec identified).


avs video converter


You can monitor the quality of the video as it is being produced by clicking on the arrows beside the “Advanced” button.  You will be able to see “Elapsed” (time taken so far to convert the video), “Remaining” (time required to complete the conversion) and “Overall Progress” (percentage of video conversion).   The blue bar shows visually where the video conversion is up to.   The monitoring screen will also display the image relevant to the location in the video conversion:


avs video converter


Well, the AVS Video Converter solved all my problems with the green screen on iTunes and I converted six videos the day after I purchased the software.

AVS Video Converter:  70% off Sale until 30 November 2011

  AVS Video Converter - 70 % off

The award-winning AVS4YOU software, including the AVS video converter,  is normally offered on an annual fee basis for the whole suite of 18 programs (listed below).  For the month of November 2011, this whole suite of 18 programs is being offered at 70% off for unlimited access (and download) – Price $59.

AVS – Unlimited Access to 18 Software Programs

This offer includes free updates and free support.  Here are the 18 software programs in this unbelievabe offer:

AVS software programsIf you want to remove the green screen from videos on iTunes then the AVS Video Converter is the answer – but why not take advantage of the great offer for unlimited access to the whole suite of AVS software programs (while it is on offer in November)?

Turn Photos into Video to Promote Your Small Business


One of the easiest ways to market your small business is to turn your photos into video.  You must have lots of photos lying around that you can use for this purpose.  However, if you want to make the most of this highly effective marketing option, you can be more deliberate about what photos you take and the videos you create.

The program I have used over the last few years for turning photos into video is called Animoto which is an online service that is spectacularly easy to use.

Animoto uses the very latest in cinematography to produce stunning videos that you can upload to your blog/website, YouTube or any other video hosting site.   You can use the video to promote your small business and/or your services and products.  The online program uses state-of-the-art cinematography to create a video from images, video clips and music.  So you end up with an animated musical video created from your photos.

The steps are quite simple to turn photos into video:

  1. upload images to Animoto
  2. identify the two or three images you want to highlight
  3. decide what music track you want (yours or theirs)
  4. press “create video”
  5. upload video to your computer and/or YouTube (press a button)
  6. press remix as often as you like to make alternative videos
  7. admire your handywork.


You can adopt a number of strategies for your small business video marketing.

1. Create an eye-catching video from your photos:

This is illustrated by the rainforest video at the end of this paragraph.  Here you are simply creating an attractive video that people like to watch (e.g. some holiday snaps).  Your aim is to redirect the traffic from the video site (e.g. YouTube, Facebook or Flickr) to your website or blog.  The rainforest video has attracted nearly 3,000 views on YouTube (and many more elsewhere).  A number of people have placed the video on their own websites as well:

http://youtu.be/ln-Xbz3TgbM

2. Produce a video about your small business and your staff

Animoto is great for this because you can add text to the video that you create from your photos.  You can also splice in 30 second videos created elsewhere.  Here’s an illustration of what I have created to promote our own business, Merit Solutions Australia:

 http://youtu.be/L4StJfmKDus

3. Promote your local area

There are stats that show most small businesses generate up to 80% of their business from their local area.  So a video highlighting your town or city can attract the attention of residents as well as potential tourists.  You are then able to reinforce the fact that your business is local.  The following video was taken during a holiday but it could be used to promote your local business if you lived in the beachside town of Mooloolaba:

http://youtu.be/WZf0n7l-YBI

Animoto offers both free and paid versions of their program.  The free version allows you to create as many 30 second videos as you want (for non-commercial use).  A very cheap option allows you make as many non-commercial videos as you want of any length (you are not restricted to 30 seconds).  The paid or business option includes unlimited videos of any length as well as the production of high definition versions of your videos.

This can be an exciting area of small business marketing because you can combine your love of photography with promoting your business.  I frequently take photos on my holidays and business trips to use in videos that I create to promote my small business.   Animoto opens up a whole creative world and makes it easy for you to turn photos into video.